Mastering Product Photography: Essential Tips for Captivating Shots
In the digital era where e-commerce reigns supreme and social media platforms serve as global showrooms, product photography is no longer a luxury—it's a necessity. Exceptional product images can dramatically influence consumer choices, turn casual browsers into committed buyers, and uplift the brand image of businesses. Whether you are a small business owner striving to improve your online storefront, a content creator on the hunt for compelling visuals, or a photography enthusiast looking to sharpen your skills, this guide is for you. It offers a comprehensive roadmap of best practices, essential tips, and potential pitfalls to avoid, providing you with the tools to excel in the art of product photography.
Understanding Your Equipment
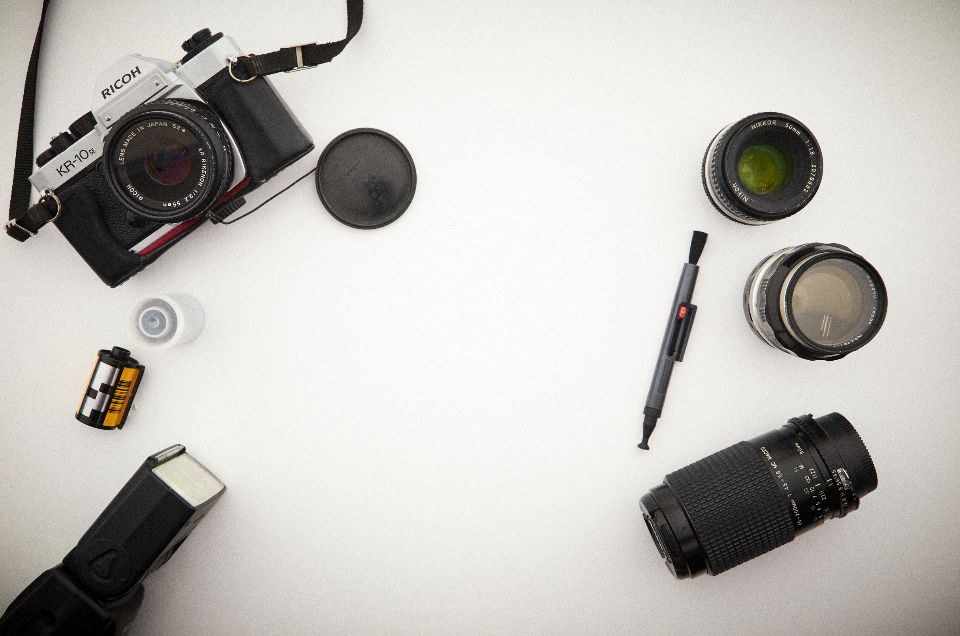
Before clicking the shutter, one must fully understand the tools at hand. Ignorance of your equipment's capabilities and limitations could result in mediocre or inconsistent photographs.
Camera
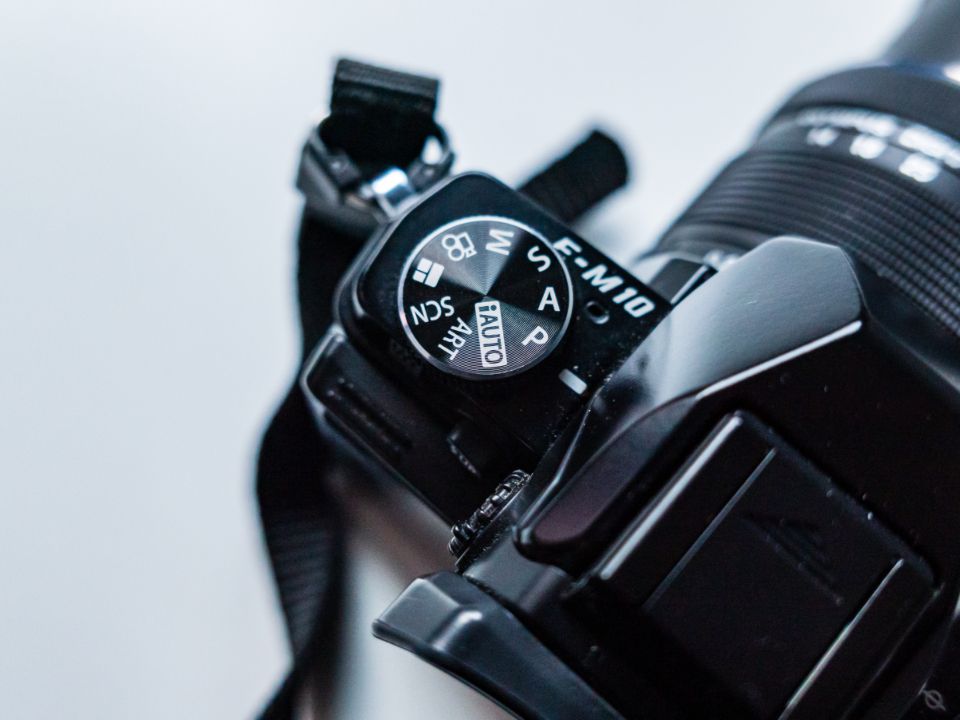
- DSLR and Mirrorless: These cameras offer a multitude of adjustable settings like ISO, shutter speed, and aperture, allowing you unparalleled creative control. They are excellent for professionals who need high-quality images.
- Smartphone: Modern smartphones have advanced camera systems, often incorporating AI to improve image quality. They can be surprisingly adequate for capturing images, particularly for online use.
- Point-and-Shoot: These cameras are generally cheaper and easier to use than DSLRs but offer limited manual controls. Suitable for beginners or as a secondary camera.
- Medium Format Cameras: These offer higher resolution and are often used in high-end product photography. However, they are expensive and less flexible in terms of portability.
- Film Cameras: Ideal for those looking for a unique, vintage texture in their photos. However, they are less practical for quick iterations.
- Drone Cameras: For capturing aerial shots or large sets, drones can provide a unique perspective but are generally not suitable for detailed product shots.
- Action Cameras: These are generally not suitable for product photography due to their wide-angle lenses and lack of control settings.
- Instant Cameras: More of a novelty, instant cameras do not offer the control or quality needed for serious product photography.
Lens
- Macro lens for detail: These lenses allow you to get up close and personal with the product, capturing intricate details that might otherwise go unnoticed. A must-have for jewelry or tech products with intricate details.
- Wide-angle lens for context: Useful for capturing the entire environment around the product, wide-angle lenses are ideal for larger setups or when you want to show the product in a contextual setting.
- Telephoto Lens: These are excellent for isolating the product and can create a beautiful blurred background, also known as bokeh.
- Prime Lens: With a fixed focal length, prime lenses often provide sharper images and better low-light performance but lack the flexibility of zoom lenses.
- Zoom Lens: Provides flexibility in framing but may sacrifice some image quality compared to prime lenses.
- Fisheye Lens: Offers an ultra-wide-angle view but can distort the image, making it unsuitable for most product photography.
- Tilt-Shift Lens: Allows for perspective control; however, it is generally not needed for standard product photography.
- Specialty Lenses: These could include anything from vintage lenses for a unique look to soft-focus lenses for a dreamy effect, though they are rarely used in traditional product photography.
Tripod
A tripod serves as the cornerstone of a sharp, well-focused shot. Investing in a robust and adjustable tripod can prevent unwanted camera shake, particularly in low-light conditions or during long exposure shots. Models with quick-release plates and adjustable arms can facilitate smoother workflow.
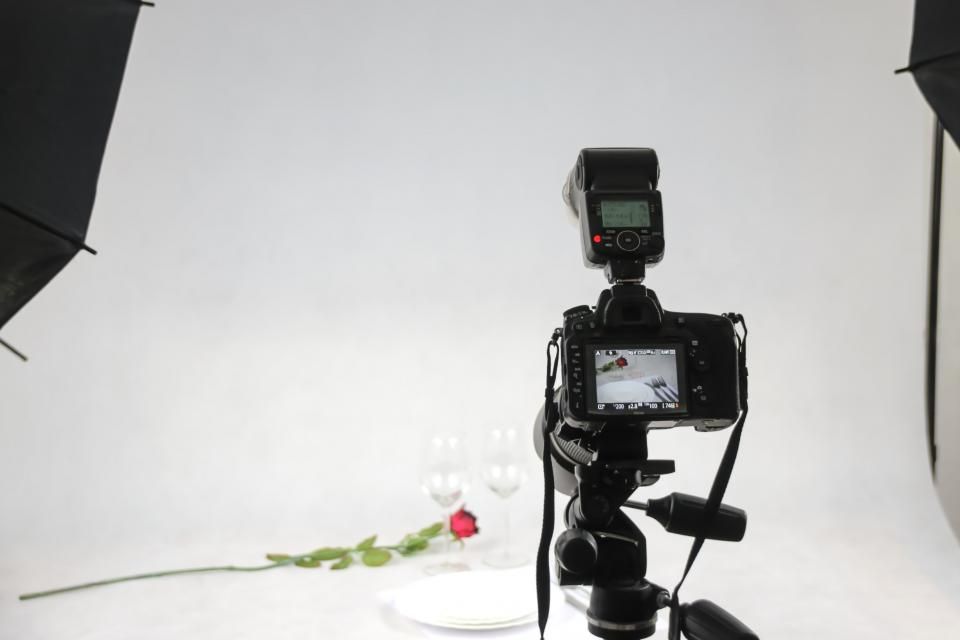
Setting the Stage: Background and Lighting
The background and lighting not only set the aesthetic tone of your image but also direct the viewer's attention towards the product. A poorly chosen background or suboptimal lighting can distract from the product, making your efforts futile.
Background
- White or light gray: These neutral backgrounds are versatile and put the focus squarely on the product. Ideal for e-commerce websites and catalogs.
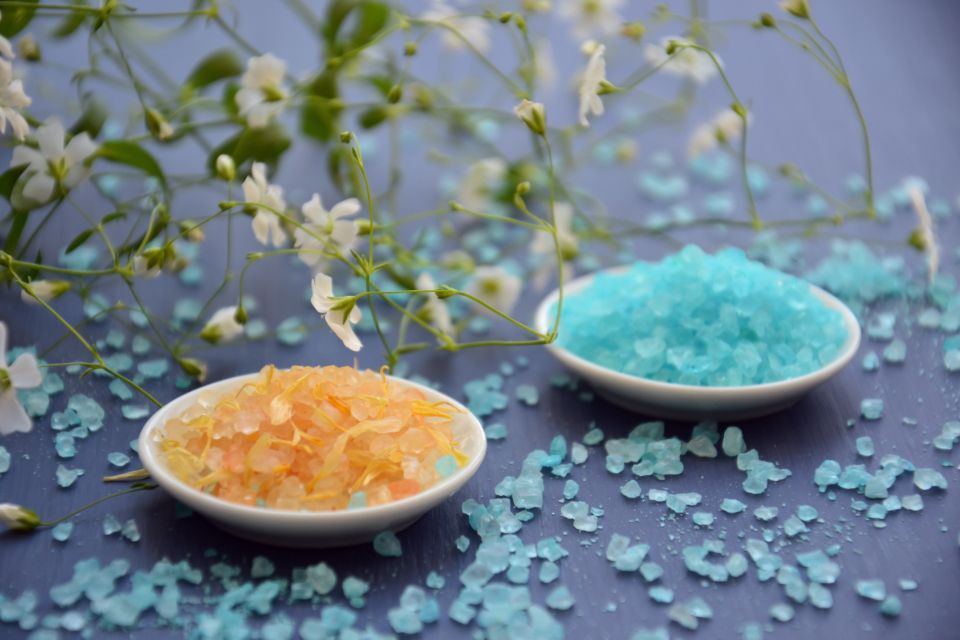
- Textured or themed: These can add a layer of context or storytelling to your product images. For instance, outdoor gear may be best presented in a natural setting.
- Colored Backgrounds: While bold colors can make a statement, they should be chosen carefully to not clash with the product.
- Patterned Backgrounds: These can add visual interest but must be used judiciously to avoid overshadowing the product.
- DIY Backgrounds: Simple materials like cloth, paper, or even a wooden table can serve as effective, low-budget backgrounds.
- Digital Backgrounds: These can be added in post-processing but require skill to make the product look like it naturally belongs in the setting.
- Seasonal or Themed: Think of Christmas decorations for holiday products or a beach setting for summer merchandise.
- Studio Sets: These are custom-built sets that replicate specific scenarios, useful for high-end advertising photography.
Lighting
- Natural Light: Sunlight offers a warm and authentic feel but can be unpredictable in terms of intensity and angle.
- Studio Light: These can range from softboxes to LED panels, offering you full control over the intensity and direction of light.
- Ring Light: This can evenly illuminate a subject and is particularly useful for smaller objects.
- Umbrella Lights: These scatter light across the room, reducing harsh shadows but may not be suitable for products that benefit from defined shadows.
- Spotlights: These focus light on a particular area of the product, creating drama and contrast.
- Backlighting: This can make translucent or transparent products glow but should be used carefully to avoid flares.
- Reflector Boards: These can bounce light back onto the product, filling in shadows.
- Colored Lights: These can set a mood or atmosphere but should be used cautiously to avoid altering the product’s true colors.
Composition Techniques
In the realm of product photography, composition is the art of arranging elements within the frame to create a balanced, harmonious image that captures the viewer's attention. Neglecting this can result in cluttered or uninspiring photos that do little to promote your product.
Rule of Thirds
- Grid Lines: Use the grid lines in your camera's viewfinder to place the product along one of the vertical or horizontal lines.
- Focal Points: Place points of interest at the intersections of the grid lines to add dynamic tension and interest to your images.
- Balancing Elements: Use other objects or elements in the background to balance the visual weight of your product.
- Flexibility: Remember, rules are meant to be broken. The Rule of Thirds serves as a guideline, but compelling images can be made by deviating from it when appropriate.
Framing and Angles
- Eye-level Shots: These are straightforward and generally effective, especially for products like furniture or home goods.
- Low Angle Shots: These can make your product seem more imposing or dominant.
- High Angle Shots: Useful for products that need to be viewed from above, like a plate of food.
- Diagonal Lines: Use these to guide the viewer’s eye through the frame, creating a sense of movement.
- Symmetry: Creating a symmetrical arrangement can be visually pleasing and put the focus squarely on the product.
- Asymmetry: This can add visual tension and intrigue, making the viewer spend more time looking at the product.
- Close-ups: These focus on specific details or features of the product, which could be a selling point.
- Wide Shots: These show the product in its entirety and are useful when multiple items are being displayed together.
Depth of Field
- Shallow Depth: A shallow depth of field (wide aperture) will blur the background, putting the focus solely on the product.
- Deep Depth: A deeper depth of field (narrow aperture) will keep both the product and background in focus, useful when context is important.
Post-Processing: The Final Touch
No matter how meticulous you've been during the shooting process, post-processing is where your product photos truly come to life. This is the stage where you fine-tune details, adjust colors, and rectify any minor imperfections.
Color Correction
- White Balance: This will ensure that the colors in your photos are accurate. Incorrect white balance can make a product appear off-color, leading to disappointed customers.
- Saturation: Over-saturated colors may look appealing but can be misleading. Keep it realistic.
- Vibrance: This subtly enhances the less-saturated colors without affecting the well-saturated ones.
Retouching
- Spot Removal: Remove any dust, scratches, or minor imperfections that may have appeared on the product during the shoot.
- Skin Smoothing: If your product involves human models, a little bit of skin retouching can enhance the overall image without appearing unnatural.
- Sharpening: This can make your product look more defined but should be used moderately to avoid a harsh look.
Filters and Effects
- Monochrome: A black and white filter could make for striking promotional material but is generally not suitable for standard product photos.
- HDR: This enhances the dynamic range but should be used cautiously as it can create an unrealistic look.
- LUTs: These are pre-set color grading profiles that can instantly transform the mood of your photo, but again, keep it realistic.
Pitfalls to Avoid

Even seasoned photographers can fall into common traps in product photography. Being aware of these can save you time and ensure that your final output meets professional standards.
- Overediting: The temptation to make your product look 'perfect' can lead to unnatural, over-processed images.
- Inconsistent Lighting: Different light sources or changing conditions can result in inconsistent photos, which look unprofessional when displayed together.
- Ignoring the Details: Small elements like dust or scratches can significantly detract from the overall image quality.
- Overcrowding the Frame: While additional props can add context, too many can overshadow the product.
- Mismatched Background: Your background should complement, not clash with, your product.
- Ignoring the Platform Requirements: Different online platforms may have specific requirements for image dimensions, file sizes, and formats. Make sure to read up on these beforehand.
- Using Only One Angle: Show your product from multiple angles to give potential buyers a full understanding of what they are purchasing.
- Ignoring Scale: For products whose size isn’t immediately clear, include an object for scale to help potential buyers understand the dimensions.
Mastering the art of product photography is not just about having the best camera or the most advanced lighting setup. It's about understanding how to combine these tools with fundamental techniques in composition, background selection, and post-processing to create compelling images that elevate your product and resonate with your audience. By adhering to the best practices and avoiding common pitfalls outlined in this guide, you are well on your way to capturing images that not only attract attention but also convert viewers into customers.
Whether you're a small business owner looking to showcase your products, a content creator aiming for the perfect shot, or a budding photographer looking to hone your skills, the principles are universal. Now go on, take that camera and make your products shine!